
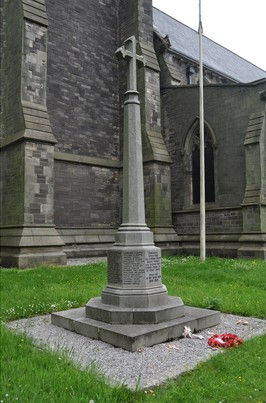
Action on Dead Mans Ridge/ Razor Back Hill Gallipoli
- Si Biggs

- May 6, 2024
- 3 min read
Gallant attacks had been made, but they had failed, and the losses among the men and also, perhaps, to some extent the inadequate preparations, had prevented the construction of any strong defensive line.
The over riding weakness of the position as a whole was the isolation of the three assaulting battalions from each other.
When dawn broke, this, and the superiority of ground still enjoyed by the enemy, made the situation desperate. In these circumstances the Portsmouth Battalion of Marines, in reserve in the gully, were asked to go forward.
Owing to a misunderstanding, the request was not addressed to General Trotman.
Nothing however, could save the position on the plateau itself but the capture even at this eleventh hour of the main Turkish trenches; and, in the belief apparently that these front line trenches had, in fact been captured elsewhere on the battle front, and were still in our hands, the Chatham Battalion was sent forward to attack those opposite the sorely pressed 16th Battalion. Almost at the same time, an ill-fated order was given, in the centre of the battle front, for the Nelson Battalion to attempt, by attacking to a flank, to protect the 13th Battalion.
The attack of the Chatham Battalion, brilliantly led by the Adjutant, Captain Richards RMLI, was extremely successful, and in the face of a very heavy, but not devastating, fire, two lines of trenches were taken and, in the first instance, held. Unfortunately, no support was now forthcoming on either flank, and after a gallant defence of some six hours, during which Quartermaster-Sergeant White and Sergeant Oakey specially distinguished themselves, the position, so finely won, had to be abandoned. With it, went our hold on the improvis8ed trenches dug by the Australians on the edge of the plateau at this point. [1]
![Dead Mans Ridge [Australian War Memorial]](https://static.wixstatic.com/media/836e27_b330ca16cfca442a8408c7b546f0b918~mv2.jpeg/v1/fill/w_290,h_174,al_c,q_80,enc_avif,quality_auto/836e27_b330ca16cfca442a8408c7b546f0b918~mv2.jpeg)
The Chatham Battalion War Diary (NA ref; WO95/4291) refers to the area as Razor Back Hill, it may have been renamed 'Dead Mans Ridge/ Gully' due to the amount of Royal Marines bodies that lay upon it.
The War diary entry reads:
“Anzac. 2nd May 1915
During the night 4th Brigade A.I.F. made an attack on a ridge to the East of Main Gully which was then in Turkish hands and dug fire and support trenches on the ridge
Anzac. 3rd May 1915
At dawn Chatham Battalion was ordered to move to the support of these trenches which were being enfiladed from the left flank and the right rear by hostile M.G. fire. Three companies (B, C, & D) advanced up the minor gullies leading off to the east of the main gully. Captain Richards the Adjt., led a charge up the steep slope of Razor Back Hill coming under M.G. and short range rifle fire from the front and both flanks. On gaining the ridge Captain Richards was killed in the act of jumping into a hostile trench. His conduct had been most gallant and efficient throughout, both in this and in previous operations and his death was a great loss to the Battalion.
At one point a M.G. under Q.M.S. White and Sergeant Oakey was dragged up a very steep slope under fire and brought into action at the top and did considerable execution. Late during the forenoon the support trenches were gained and held for about 2 hours, but had to be evacuated after this period as they were closely enfiladed from the left flank, the trenches on that flank either not having been seized by our troops or having been evacuated by them. The Battalion record of casualties are not available, but are estimated at close on 300 from 29th April to 3rd May inclusive. Lieutenant A. R. Chater appointed Acting-Adjutant vice Richards killed.” [2]
The Royal Naval Division(1923) by Jerrold Douglas [p123- 124] [https://archive.org/details/in.ernet.dli.2015.523461/page/n150/mode/1up]
Map and War Diary text as published by Len Sellers in his magazine ‘RND’ issue No.12, March 2000.


Comments